
Categories : ETC
Jekyll 로컬 세팅 (For Windows)
Jekyll 로컬 세팅 (For Windows)
- Jekyll Ruby 로컬로 확인하는 이유
- 기존
github-pages로 진행할 경우commit & push를 하고 몇 초에서 몇 분이 지나야 확인이 가능하기 때문에 시간 낭비가 많아진다. - 1에 대한
commit & push를 자주하게 된다면 기록이 지저분하게 남아 빠르게 이전 자료를 확인하기 힘들수도 있다.
이를 로컬 환경에서 '수정 -> 확인'을 진행하면 변경사항을 바로 확인할 수 있다.
- 기존
1. Ruby 설치

Ruby 홈페이지 접속 후
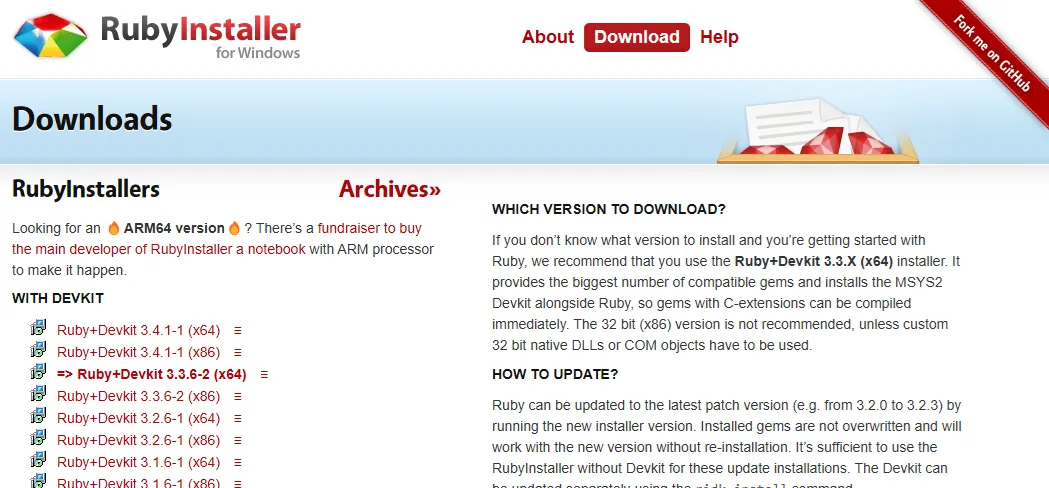
추천되어진 Rubyinstallers 다운
다운로드 파일을 실행하여 설치 후 ridk install 선택해제 후 완료
2. Jekyll 설치
cmd 실행 후 다음 명령어 진행 설치 시간이 꽤 걸림
gem install bundler
bundle install
bundle update
gem install jekyll
3. 프로젝트 테스트
여러 Jekyll 디자인중 하나를 다운로드하고, 폴더경로를 두고 cmd 실행 후 명령어 진행
bundle install
bundle exec jekyll build
bundle exec jekyll serve
명령어 진행시 http:/127.0.0.1:4000 와 같은 로컬주소가 표시 된다.